


How to Deep Clean Every Part of Your Kitchen
Alright, buckle up because we’re about to get your kitchen so clean it’ll make @GoCleanCo proud. This isn’t a “sprinkle a little cleaner and call it a day” situation. Nope. We’re going full throttle. If you’re ready to put in the work, you’ll end up with a kitchen that sparkles like it’s brand new. Top to bottom, left to right folks. Let’s dive in and deep clean your kitchen!
Light Fixtures: 💡
Before you touch anything, make sure the light fixture and bulb is cool to the touch. Trust me, you don’t want to burn your hand cleaning or have a light bulb explode. Once the fixture is cool, grab your Mr. Clean® Summer Citrus (the yellow stuff) to cut through the grease. Wipe it down with warm water, then follow with a little polish using Windex® or a carbon cloth for that streak-free shine.
If you need more in depth info click here.
Kitchen Cabinets:
Starting at the top: the tops of cabinets are a hidden rarely seen spot, but they are notorious for being sticky, greasy and dusty. Straight Mr. Clean® will cut through that grease and buildup. (For future reference when we say Mr.Clean® we mean the yellow stuff) It’s an amazing degreaser. Once you’ve cleaned them up, you can save yourself some future scrubbing by lining the tops with parchment paper or paper towels. This little trick will catch all the dust and grease, so that next time you can just replace the parchment paper and give it a quick wipe instead of scrubbing.
Next, we’re cleaning the rest of the cabinets. We’re not half-assing this, okay? One cabinet or drawer at a time: take everything out, vacuum the crumbs, and wipe each shelf or drawer down with water, bleach and powdered Tide® (recipe below). Use the same recipe to wipe the doors and handles.

Pro tip: for scuff marks on shelves from pots and pans, bust out some Barkeeper’s Friend® and buff them away.
Clean every. single. part. of your kitchen cabinets. Get down on your hands and knees and get those kick plates!
Read here to put in that extra effort.
Backsplash:
Grease, splatters, and food residue love to stick to your backsplash. Time to show ’em who’s boss. Use Mr. Clean® (check that it’s safe for your surfaces) to cut the grease and then wipe it down with warm water. Wipe well, Mr. Clean® leaves streaks. Finally, polish it with Windex® or a carbon cloth to get it shiny and free of streaks.
Need more help? Watch this video
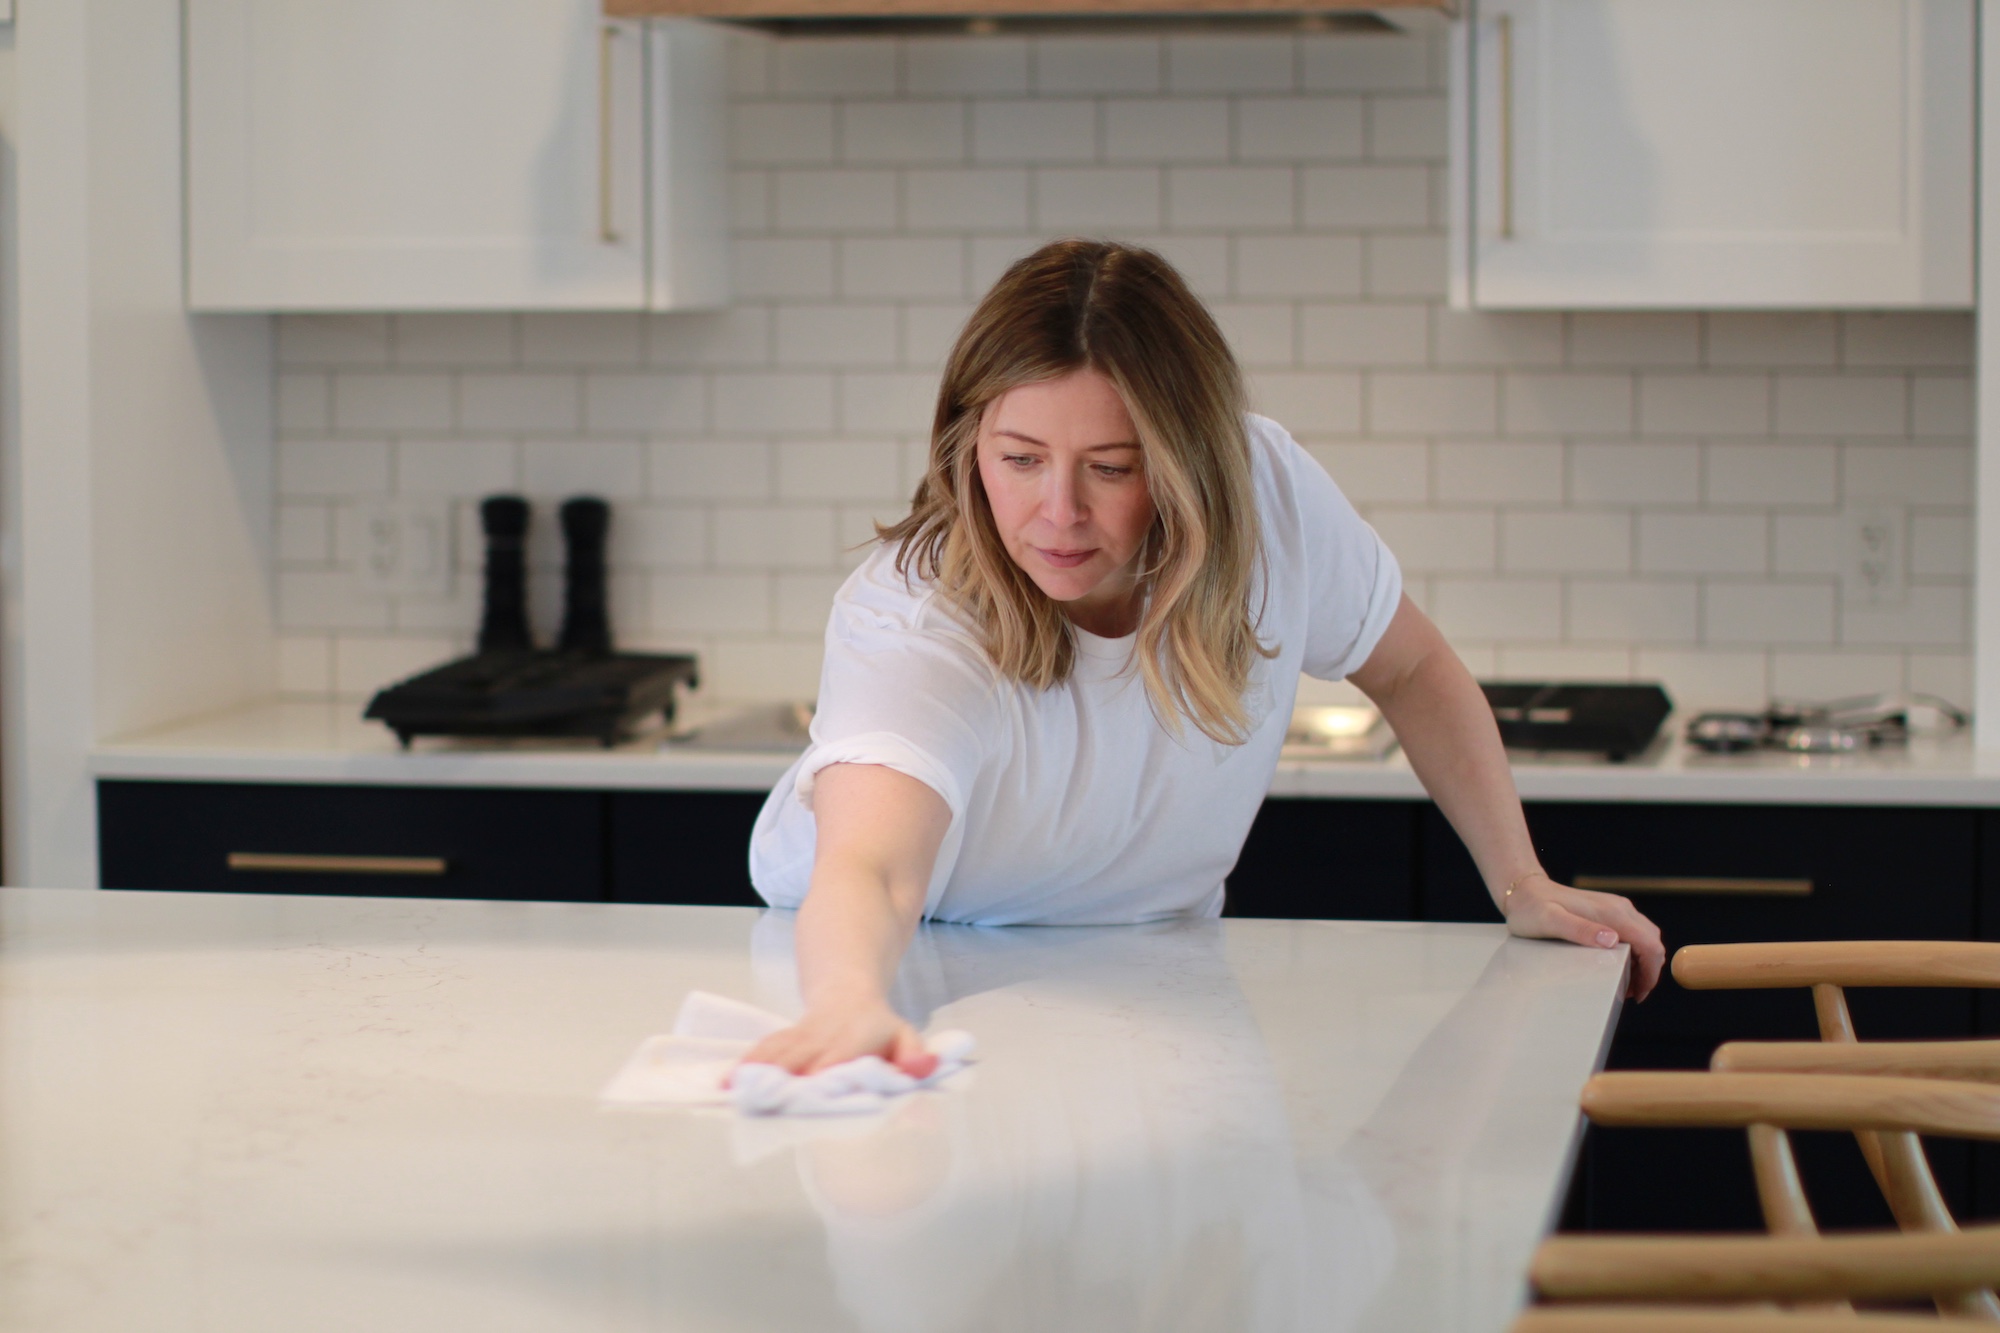
Countertops:
Sealed countertops (granite, quartz, laminate) get the full Tide® and hot water treatment. Want to disinfect or treat stains? Add some bleach.
Use dish soap and hot water for marble countertops—no bleach here!
For stainless steel or porcelain, go with Bar Keepers Friend® and Weiman’s®.
Polish with a carbon cloth to make them shine.
For details on most surface types, read this article.
Sink:
For your stainless steel sink, grab Bar Keepers Friend® to buff out those stains, then polish with Weiman’s®.
For porcelain sinks, use Bar Keepers Friend® and Windex® to get it gleaming.
Got a silgranit sink? Mix white vinegar and blue Dawn® dish soap (the shower door recipe works wonders) and scrub it down. Dry it well and polish it with food-grade oil to seal it.

If you want to organize under your sink and need ideas click here.
For details on all sink types read this article or watch these videos: silgranit sink and stainless steel sink.
Range Hood Vents: 🔥
Range hood vents get greasy and grimy in a hurry. Don’t worry; Mr. Clean® is here to handle it. Check that it’s safe for your surface then spray it on and let it sit for 10-15 minutes to loosen up that grease. After you’ve scrubbed away the mess, rinse well and give it a final polish with Weiman’s® (if it’s stainless steel).
Walls, Light Switches & Baseboards:
Grab your water, bleach and Tide®, and scrub your walls, light switches, and baseboards. Yes, every inch of ‘em. Those switches and walls have been hiding dirt and grease for too long. Use Barkeeper’s Friend® for tricky scuffs. If you are working around carpet or fabric material, skip the bleach to be safe.
Need more help? Click here. Or watch this video.
Blinds, Windows, & Patio Doors: 🪟
Blinds are notorious for holding onto grease. And window tracks? Don’t even get me started. Add a dishwasher tab to hot water and use it to wipe down your blinds.
For window sills: water, bleach and Tide® does the trick.
Window and patio door tracks: vacuum first, then spray Mr. Clean®. Scrub with a brush, and wipe it up using paper towels (which will soak up that dirt better than any rag).
Grab some Windex® or a carbon cloth for polishing to make your windows and patio doors shine. Alternatively, mix some blue Dawn® dish soap and hot water, then use a sponge and squeegee for that streak-free finish. No more smudges or fingerprints—just clear, clean glass.
For more in depth instructions, see the following articles and video: window treatments, windows, and doors, Hack for blinds in your kitchen
Doors & Frames: 🚪
For any interior doors in the kitchen, grab your trusty water, bleach and Tide®. Wipe down every inch—don’t skip the edges, the frame, the handle, or the door itself.
See this article for more.
Pantry Organization: 🥫
It’s time to whip that pantry into shape! Start by taking everything out—yes, every can, box, and bag. Once it’s empty, wipe down the shelves and walls with water, bleach and Tide® to make it spotless. While everything’s out, check those expiry dates. Toss anything that’s expired, donate what’s still good but you know you won’t use, and keep the rest.
Now, it’s time to put it all back in a system that works for you and your family. Whether you’re all about bins, can organizers, or keeping things simple; find a setup that makes it easy to grab what you need. Group similar items together—like snacks, baking supplies, or canned goods—to make your pantry functional and stress-free.
For more ideas read this blog.
Appliances:
Microwave:
For your microwave, mix 1 cup of water and 2 tbsp white vinegar in a bowl. Microwave it for 3 to 5 minutes, then wipe it down with paper towels. If you need extra help, hit it with some Dawn® dish soap and hot water.
Need a step by step? Watch this video or read this blog.
Dishwasher: 🍽️
For your dishwasher, bleach is your only option. Anything else (even splash-less bleach) will foam up and flood your kitchen. Wipe the edges and the hinges, remove the filter and rinse it well. Add 1/3 cup bleach to the bottom then run the longest, hottest cycle. Wipe the exterior with Dawn® dish soap and water, then polish it up with Weiman’s® (if stainless steel) or Windex®.
For the filter watch this video. For a full step by step read this blog.
Fridge: 🧊
Time for your fridge. Empty it out completely—yes, even the drawers and shelves. Let those glass shelves come up to room temperature. While you’re at it, check the expiry dates and get rid of anything that’s expired or just plain gross. Vacuum the fridge interior, then fill your sink with hot water, bleach and Tide®. Ensure your glass shelves have reached room temperature and get to scrubbing, rinse them off, and dry them thoroughly. If you introduce cold glass shelves to hot water you risk cracking or shattering your glass. As you put everything back in the fridge, wipe down any sticky bottles or containers. Line the fridge drawers with paper towels for future easy cleaning. Wipe down the exterior with Blue Dawn® dish soap and water, then shine it up with Weimans® (if stainless steel) or Windex® when it dries.
Read this article for step by step instructions.
Stovetop: 🔥
Spray your stovetop with Dawn® Powerwash and let it sit for a few minutes to lift those spills. If the stains are really burnt on, bring in the Easy-Off® oven cleaner (but rinse it first!) And read the directions. Oven cleaner is powerful stuff, make sure it is safe for your stovetop. Wear gloves, and ventilate! Let it sit, scrub it off, and repeat if needed. Remember: it comes off in layers. Don’t use anything abrasive on your stovetop—it’ll scratch. Polish everything up with Windex® or a carbon cloth for that final shine.
For all stovetop types read this article.
If you’re more of a visual learner watch these videos: gas stovetop and glass stovetop.
Oven:
If you’ve got a self-cleaning oven, use it—but don’t leave it unattended. After the self-cleaning function is complete, let cool and vacuum out debris and scrub off burnt-on spots with an S.O.S® pad. If you don’t have a self-cleaning oven or don’t like to use that feature, don’t worry—we’ve got your back. Lay down garbage bags to protect the floor, and spray Easy-Off® oven cleaner on the oven interior. Wear gloves, turn on your fan and open a window if you can. Easy-Off® is powerful stuff. Let it sit for 20 minutes, then scrub it with an S.O.S® pad and wipe it off. Repeat as necessary, targeting the stubborn spots, and then wipe everything clean with a wet cloth (at least three times), to get rid of any leftover oven cleaner residue.
For a step by step watch this video or read this blog.
Table Tops, Chairs & Legs: 🪑
Your kitchen table, chairs, and those legs that always seem to get forgotten? Time to scrub ’em like you mean it. Use a safe cleaning method for your furniture finish. Don’t leave any part untouched. Wipe it down, scrub it clean, and make your kitchen look chic.
For any microfiber cushions, check out this hack.
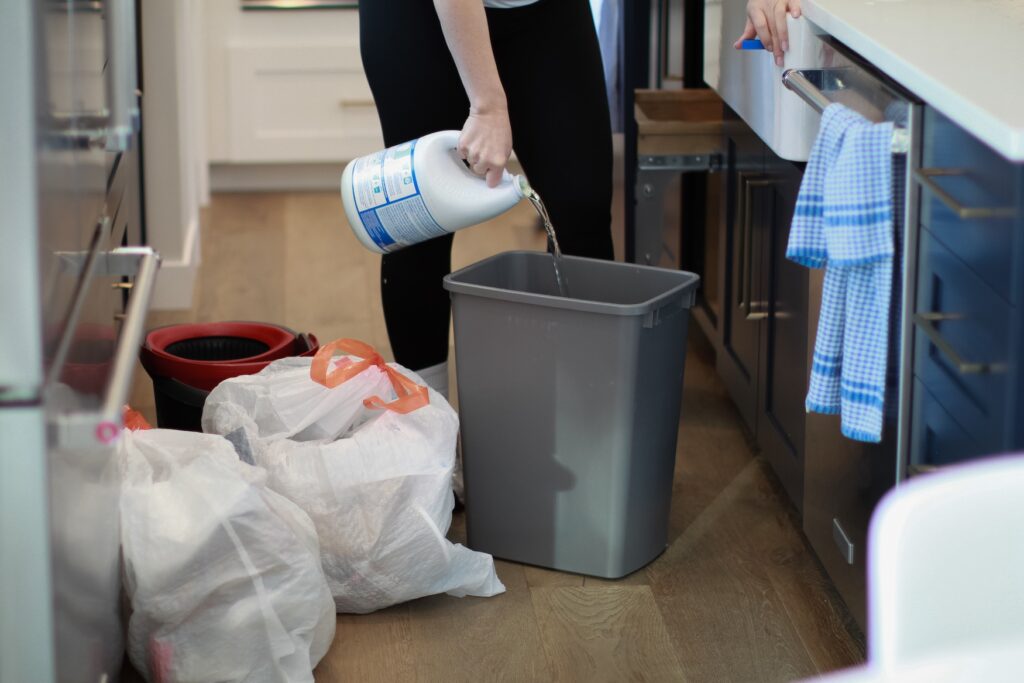
Garbage & Recycling Bins: 🗑️
Tired of the smell of stale garbage? Time to fix that. For the inside of your garbage cupboard, grab Mr. Clean® or water, bleach and Tide® and scrub every inch. For your garbage, recycling or compost bins, rinse them inside and out with bleach and hot water, then line the bottom with paper towels once dry.
Read this article for more.
Floors:
Floors need love, too (and don’t forget those floors in the pantry). No “quick once-over” here. Move everything off of the floor and vacuum thoroughly. Then grab that mop and use Tide® and hot water. Mop every inch of that floor like you’re trying to make it glow. Don’t leave any streaks. Pro tip: for stuck-on food, soften it with Mr. Clean® then wipe it up. Once you’re done, vacuum again for the extra crumbs, then step back and admire your work—those floors should look fresh.
Read this article.
You’re done!
There you have it, folks—your kitchen is now sparkling from top to bottom, and you didn’t even break a sweat (well, maybe just a little). Keep it fresh by lining fridge drawers, cabinet tops, and pantry shelves with paper towels. The next time you clean, you’ll have an easy time of it. Give yourself a pat on the back—you’ve earned it.
Feel like I missed something? Check out our kitchen section on the blog or YouTube.
Need a restock on products? Here’s what we’ve used in this article:
When you buy through our links, we may earn a small commission.
- Powdered Tide®: (USA) (Canada)
- Bleach: (USA) (Canada)
- Mr. Clean® Summer Citrus: (USA) (Canada)
- Windex®: (USA) (Canada)
- Weiman’s® Stainless Steel Polish: (USA) (Canada)
- Easy-off® oven cleaner: For self-cleaning ovens: (USA) (Canada) and regular ovens: (USA) (Canada)
- S.O.S.® pads: (USA) (Canada)
- Dawn® Powerwash: (USA) (Canada)
- Blue Dawn®: (USA) (Canada)
- Bar Keeper’s Friend®: (USA) (Canada)
- Carbon Cloths: (USA) (Canada)
- Spin mop: (USA) (Canada)
- Bissell® Zing: (USA) (Canada)
Happy cleaning! 💪✨
Sara B @GoCleanCo


We're big on Instagram.
Follow @GoCleanCo for seriously satisfying videos and top-secret tips. Don’t be shy, come say hi.
gocleanco
484 2,461,462
Creating calm, clean homes.
One room at a time.
*always test a small spot first*
*clean at your own risk*
Recipe:
1 gallon of hot water in a bucket
1 teaspoon of powered tide laundry detergent
Microfibre cloth or a ripped up old towel—you need a cloth with texture to get into the grooves of the paint but do not scrub too hard or scrape because you’ll chip the paint.
Wipe the walls down and let it soften the boogers/food/dog slobber, then repeat. The hot water will help soften the crud, the tide will lift the dirt.
No need to rinse.
Save this post!
Spring Cleaning
Recipe:
1 gallon of hot water in a bucket
1 teaspoon of powered tide laundry detergent
Microfibre cloth or a ripped up old towel—you need a cloth with texture to get into the grooves of the paint but do not scrub too hard or scrape because you’ll chip the paint.
Wipe the walls down and let it soften the boogers/food/dog slobber, then repeat. The hot water will help soften the crud, the tide will lift the dirt.
No need to rinse.
Save this post!
Spring Cleaning ...
My kinda zen 🧘♀️
My kinda zen 🧘♀️ ...
How to get the foggy haze off your bathroom mirrors. You do not have to rinse it! Sound on 📣
How to get the foggy haze off your bathroom mirrors. You do not have to rinse it! Sound on 📣 ...
Cleangasm ™
Who needs a new laser beam @dyson for Spring Cleaning?
Like this post and comment below 👇🏻 (seriously guys, follow the instructions because we have to check)
*not affiliated with Meta or Dyson, all contest rules are on my website housework.com
Cleangasm ™
Who needs a new laser beam @dyson for Spring Cleaning?
Like this post and comment below 👇🏻 (seriously guys, follow the instructions because we have to check)
*not affiliated with Meta or Dyson, all contest rules are on my website housework.com ...
Our Spring Cleaning Challenge starts on Friday, March 7, 2025.
Comment SPRING below and I’ll send you the link to the FREE download. By downloading the Challenge, you are automatically entered into the contest to win a free clean from me and my team!
Full contest rules on my website:
housework.com
Our Spring Cleaning Challenge starts on Friday, March 7, 2025.
Comment SPRING below and I’ll send you the link to the FREE download. By downloading the Challenge, you are automatically entered into the contest to win a free clean from me and my team!
Full contest rules on my website:
housework.com ...
Who needs a new carpet vacuum?! 🙋🏼♀️
Who needs a new carpet vacuum?! 🙋🏼♀️ ...
The gasp I gusped 🧼
The gasp I gusped 🧼 ...
jk vacuuming 3 times a day is worth it ♥️
jk vacuuming 3 times a day is worth it ♥️ ...